When a dishwasher isn’t cleaning dishes properly, it’s more than just an inconvenience, it’s a time drain that defeats the whole purpose of owning one. Before assuming the appliance is shot or calling for a service visit, homeowners should know that most cases of dishes not getting clean in a dishwasher trace back to fixable issues: clogs, incorrect loading, or maintenance neglect. Many of these problems can be diagnosed and repaired in under an hour with basic tools and no special skills. This guide walks through the seven most common reasons a dishwasher isn’t cleaning and provides straightforward fixes to restore sparkling results.
Table of Contents
ToggleKey Takeaways
- A dishwasher not cleaning properly is usually caused by fixable issues like clogged spray arms, dirty filters, or improper loading—most repairs take under an hour.
- Clean spray arm nozzles and filters monthly to prevent mineral deposits and food debris from blocking water flow and reducing cleaning performance.
- Ensure water temperature is at least 120°F and that the detergent is fresh and properly dosed; improper loading that blocks spray arm coverage also prevents dishes from getting clean.
- Check for drain blockages, kinked hoses, and debris in the pump impeller, then run a vinegar rinse cycle to clear grease and soap buildup.
- Call a professional technician only when the dishwasher has electronic failures, requires pump motor replacement, or shows persistent leaks—simple maintenance and adjustments are DIY-friendly tasks.
- Regular maintenance including monthly filter cleaning, quarterly spray arm inspections, and annual vinegar rinses keeps your dishwasher running efficiently for years.
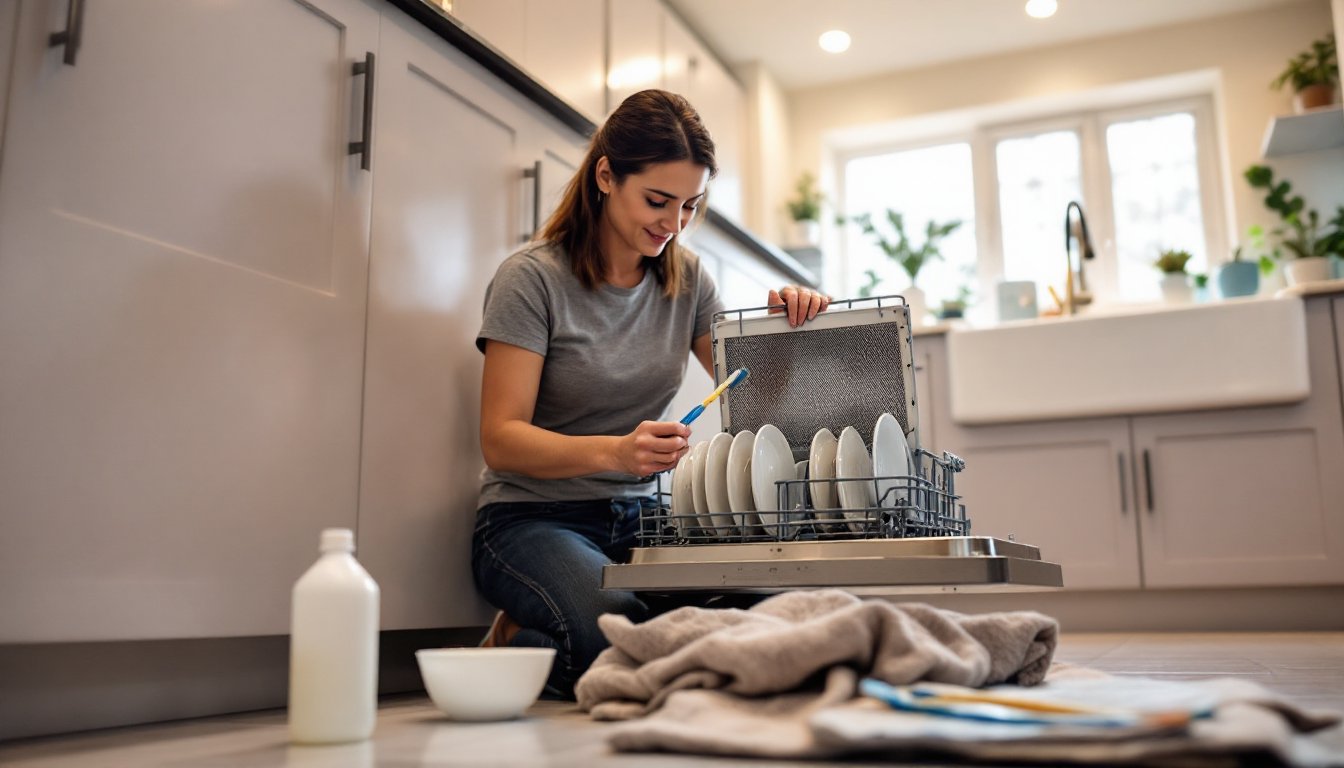
Check for Clogged Spray Arms and Nozzles
The spray arms are the workhorses of any dishwasher, rotating to distribute hot water across every dish surface. If the nozzles are clogged with mineral deposits, food particles, or hard water scale, water flow drops and cleaning performance suffers. This is one of the first things to inspect when a dishwasher is not cleaning well.
How to inspect and clean spray arms:
- Remove the spray arms. Most models use a simple twist-lock or snap-fit mechanism. Pull the bottom rack out for access to the lower arm: the upper arm is usually accessible from inside the tub. Consult the owner’s manual if the release isn’t obvious.
- Rinse under hot water. Hold each arm under a faucet and flush water through the nozzles. Use a toothpick or thin wire to clear individual holes, don’t use anything that could break off inside.
- Soak if necessary. For heavy buildup, submerge the arms in a bowl of white vinegar for 30 minutes, then scrub with an old toothbrush. Vinegar dissolves mineral scale without harming plastic or metal components.
- Check for cracks or damage. A cracked spray arm won’t maintain proper pressure. Replace if damaged: OEM parts are available through appliance retailers or direct from the manufacturer.
- Reinstall and test. Snap or twist the arms back into place and run a short rinse cycle. Peek inside mid-cycle (if safe on your model) to confirm the arms are spinning freely.
Perform this check every three to six months in areas with hard water. Prevention beats repair.
Inspect and Clean the Dishwasher Filter
Most modern dishwashers use a self-cleaning filter or a manual filter located at the bottom of the tub. Manual filters trap food debris to prevent recirculation, but they require regular cleaning. A clogged filter is one of the top reasons why a dishwasher isn’t cleaning dishes, water can’t circulate properly, and grime gets redistributed onto supposedly clean plates.
Cleaning the filter:
- Locate the filter assembly. It’s typically found under the lower spray arm, secured by a quarter-turn lock or lift-out design. Remove the bottom rack for easy access.
- Remove and rinse. Twist or lift the filter out (check the manual for your model’s mechanism). Rinse under hot running water to remove loose debris.
- Scrub stubborn buildup. Use dish soap and a soft brush, an old toothbrush or bottle brush works well. Avoid abrasive pads that can scratch and create hiding spots for bacteria. Many homeowners experience poor dishwasher performance due to filter neglect alone.
- Check the sump area. With the filter removed, inspect the sump (the well beneath the filter) for stray debris. Wipe it out with a damp cloth or paper towel.
- Reinstall the filter. Lock it back into place securely. A loose filter can rattle during cycles and won’t seal properly, allowing debris to bypass the trap.
Maintenance schedule: Clean the filter once a month for typical use, or every two weeks if the household runs the dishwasher daily or scrapes minimal food beforehand. Self-cleaning filters (found in some older or high-end models) use a grinder but still benefit from occasional inspection.
Use the Right Detergent and Loading Technique
Even a perfectly maintained dishwasher won’t clean dishes properly if the detergent is stale, incompatible, or used incorrectly. Likewise, improper loading blocks water spray and leaves dishes dirty. Both are easy fixes that don’t require tools.
Detergent tips:
- Use fresh detergent. Powder and pod detergents lose potency over time, especially in humid environments. If the detergent is clumped or older than six months, replace it.
- Match detergent to water hardness. Hard water areas benefit from detergents with built-in rinse aids and water softeners. Check local water hardness via municipal reports or a test kit (available at hardware stores).
- Don’t overdo it. More detergent doesn’t mean cleaner dishes. Excess soap leaves residue and can cause clouding. Follow the manufacturer’s dosage recommendations.
- Consider rinse aid. Even if the detergent includes it, a separate rinse aid dispenser helps sheets water off dishes and reduces spotting. Refill every month or as indicated by the dispenser window.
Loading best practices:
- Face dirty surfaces inward and downward. Plates should angle toward the spray arms, not away. Bowls and cups go on the top rack, angled so water drains rather than pools.
- Don’t overcrowd. Stacking dishes or nesting bowls blocks water flow. If items touch, they won’t get clean. Leave space between pieces.
- Place large items on the sides. Pots, platters, and cutting boards should go along the outer edges of the bottom rack, not in the center where they block the spray arm.
- Load silverware with handles down (except sharp knives, which should go handle-up for safety). Alternate spoon and fork orientation to prevent nesting.
- Avoid blocking the detergent dispenser. Tall items on the bottom rack can prevent the dispenser door from opening fully during the wash cycle.
If dishes still aren’t getting clean after adjusting detergent and loading habits, the issue likely lies elsewhere in the system.
Ensure Proper Water Temperature and Pressure
Dishwashers are designed to operate with water heated to at least 120°F. Lower temperatures won’t activate detergent enzymes or dissolve grease effectively. Inadequate water pressure can also prevent the appliance from filling properly, reducing wash intensity.
Checking and adjusting water temperature:
- Test at the sink. Run the hot water tap closest to the dishwasher until it’s fully hot (usually 60–90 seconds). Fill a glass and use a cooking thermometer to measure. If the reading is below 120°F, the water heater setting may be too low.
- Adjust the water heater. Locate the temperature dial on the water heater (usually near the bottom on tank models). Increase the setting incrementally, most heaters have marks for 120°F, 130°F, etc. Wait a few hours and retest. Safety note: Temperatures above 125°F increase scald risk, especially for children and elderly household members. Consider installing an anti-scald valve if raising the heater setting.
- Run hot water before starting a cycle. This clears the supply line of cold water and ensures the dishwasher fills with hot water from the start. Some experienced DIYers describe dishwasher efficiency tricks that include this simple habit.
Checking water pressure:
- Dishwashers require a minimum of 20 psi to function, though 40–60 psi is ideal. Low pressure is rare in municipal systems but can occur in homes with well water, old galvanized pipes, or partially closed shutoff valves.
- Inspect the shutoff valve. Located under the sink or behind the dishwasher, the valve should be fully open (turn counterclockwise until it stops).
- Check the supply line. A kinked or compressed hose restricts flow. Replace damaged hoses with braided stainless steel lines rated for dishwashers (standard size is 3/8-inch compression fitting).
- Test pressure. If multiple fixtures show weak flow, consider a whole-house pressure test or call a plumber. Low pressure is sometimes a municipal issue and may require a booster pump.
If water temperature and pressure are correct but the dishwasher still isn’t cleaning, look downstream.
Clear Blockages in the Drain and Pump
A clogged drain or obstructed pump prevents dirty water from leaving the tub, which means the rinse cycles redistribute filth instead of flushing it away. This is a common culprit when dishes come out with a greasy film or food particles stuck on.
How to clear drain blockages:
- Check the air gap (if installed). The air gap is a small chrome or plastic cylinder on the countertop or sink, designed to prevent backflow. Pop the cap off and remove any debris inside. Rinse with water and replace the cap.
- Inspect the drain hose. This corrugated hose runs from the dishwasher to the garbage disposal or sink drain. Disconnect it (have towels ready for residual water) and flush with a garden hose or sink sprayer. Look for kinks or low loops that trap water.
- Clean the garbage disposal connection. If the dishwasher drains through a disposal, remove the knockout plug if it’s a new installation (many installers forget this step). Also, run the disposal with hot water for 30 seconds to clear any blockages.
- Access the pump and sump. With the filter removed (see earlier section), check the pump impeller for debris. Rotate it by hand (power off and unplugged) to ensure it moves freely. Remove any objects, twist ties, bottle labels, and toothpicks are common offenders.
- Run a cleaning cycle. Place a dishwasher-safe cup of white vinegar on the top rack and run a hot-water cycle with no dishes. This flushes residual grease and soap scum from internal lines. Follow with a sprinkle of baking soda on the tub floor and a short hot cycle for deodorizing.
When to suspect a pump failure: If the pump hums but doesn’t drain, or if water remains in the tub after every cycle even though clearing blockages, the pump motor or impeller may be damaged. Replacement pumps run $50–$150 for parts and require moderate DIY skill (basic hand tools and electrical safety knowledge). If uncomfortable working with electrical components, call a pro.
When to Call a Professional
Most dishwasher cleaning issues are DIY-friendly, but some problems require a technician with specialized tools and training. Knowing when to call for help saves time, money, and the risk of making things worse.
Signs it’s time for a professional:
- Control board or electronic failure. If the dishwasher won’t start, displays error codes, or cycles erratically even though normal water and power supply, the control board may be faulty. Diagnosis requires a multimeter and knowledge of appliance wiring.
- Pump motor replacement. While possible for confident DIYers, pump replacement involves disconnecting water and electrical lines in a cramped space. A mistake can cause leaks or electrical hazards.
- Heating element issues. If water isn’t heating and the temperature at the source is correct, the heating element or thermostat may have failed. Testing requires electrical knowledge and safety precautions.
- Persistent leaks. A leak from the door, tub, or internal seals can indicate worn gaskets or a cracked tub, both of which may not be cost-effective to repair on older units.
- Warranty coverage. If the dishwasher is under manufacturer or extended warranty, DIY repairs may void coverage. Check the terms before proceeding.
Choosing a repair service: Look for appliance repair specialists with manufacturer certifications (especially for brands like Bosch, Miele, or KitchenAid). Get a quote before authorizing work. As a rough guideline, expect $100–$200 for a service call and diagnosis, plus parts and labor. If the total repair cost exceeds 50% of a replacement dishwasher’s price, consider upgrading instead. General home maintenance advice often emphasizes repair-vs-replace calculations for major appliances.
DIY vs. Pro: If the fix involves cleaning, adjusting settings, or replacing a simple part (like a spray arm or filter), handle it yourself. If it involves electronics, motors, or requires disassembling the dishwasher beyond the tub interior, defer to a technician unless experienced with appliance repair.
Conclusion
A dishwasher that’s not cleaning dishes properly is frustrating, but it’s usually fixable without expensive service calls. Start with the basics: clean the spray arms and filter, verify proper loading and detergent use, and confirm water temperature and pressure are in range. If those steps don’t restore performance, inspect the drain system and pump for blockages. Most homeowners can troubleshoot and resolve these issues with common tools and an hour of effort. For electrical or mechanical failures beyond straightforward maintenance, a qualified appliance technician is the safest bet. Regular upkeep, monthly filter cleaning, quarterly spray arm checks, and annual vinegar rinses, keeps a dishwasher running efficiently for years.