Spring cleaning isn’t about Pinterest-perfect Instagram posts, it’s about tackling the grime that accumulates in corners, behind appliances, and on surfaces that get overlooked during weekly cleanups. A structured checklist keeps homeowners from wandering aimlessly with a spray bottle, missing critical tasks, or burning out halfway through the kitchen. Breaking the work into room-by-room sections makes a massive project manageable, and a printable PDF lets anyone check off progress without fumbling through bookmarked browser tabs. This guide walks through exactly what to clean, which supplies to gather, and how to use a checklist to actually finish the job before summer hits.
Table of Contents
ToggleKey Takeaways
- A spring cleaning checklist PDF eliminates decision fatigue and provides satisfying progress tracking when tasks are printed and checked off physically rather than scrolled digitally.
- Gather all cleaning supplies before starting—including degreasers, microfiber cloths, and safety gear—to avoid mid-project store runs that kill momentum.
- Use room-by-room organization to prevent overlap and ensure critical tasks like refrigerator condenser coils, grout lines, and mildew removal aren’t overlooked.
- Work from top to bottom in each space, use focused 90-minute work sessions, and adapt your spring cleaning checklist to fit your home’s specific layout and maintenance needs.
- Deep cleaning appliances, addressing mold and mildew in bathrooms, and thoroughly cleaning soft furnishings and textiles significantly improves air quality and appliance efficiency.
Why You Need a Spring Cleaning Checklist PDF
Most people start spring cleaning with good intentions and end up halfway through a single room, distracted by a drawer full of old cables or a closet that needs total reorganization. A checklist eliminates decision fatigue, homeowners know what’s next without standing in the hallway wondering where to start.
A PDF format works because it prints cleanly, survives coffee spills better than a phone screen, and doesn’t require an internet connection once downloaded. Checking physical boxes provides a satisfying sense of progress that scrolling through a digital list can’t match. It also creates accountability, when tasks are visible, they’re harder to skip.
Room-by-room organization prevents overlap and ensures nothing gets missed. Without structure, it’s easy to clean the kitchen counters three times while ignoring the oven, dishwasher filter, and cabinet fronts. A solid checklist balances surface tasks with the deeper work that actually makes a difference in air quality and hygiene.
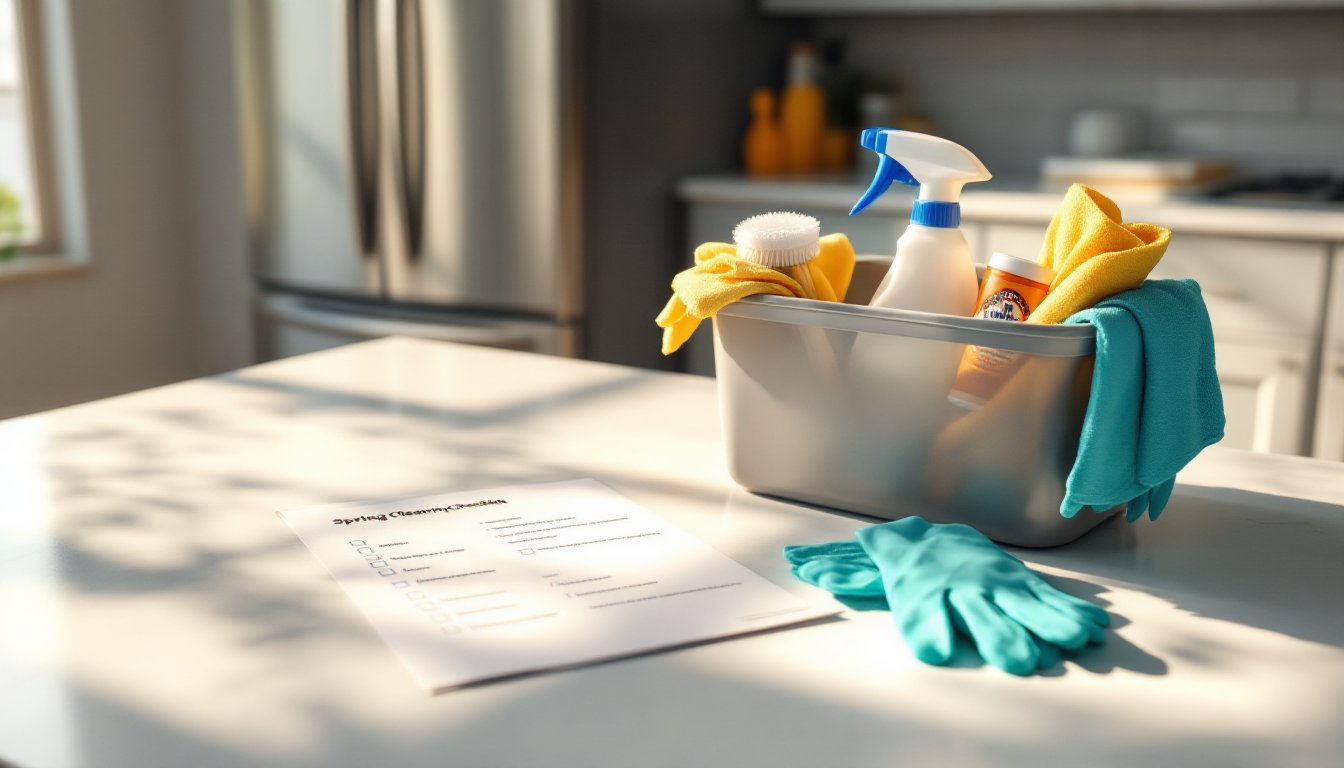
Essential Spring Cleaning Supplies to Gather First
Gather supplies before starting. Running to the store mid-project kills momentum and extends a two-day job into a two-week ordeal.
Core cleaning agents:
• All-purpose cleaner – for counters, walls, and general surfaces
• Degreaser – kitchen-specific: look for formulas rated for baked-on grime
• Glass cleaner – ammonia-free versions reduce streaking
• Disinfectant – EPA-registered products for bathrooms and high-touch surfaces
• White vinegar – cuts mineral deposits on faucets and showerheads
• Baking soda – mild abrasive for scrubbing without scratching
Tools and materials:
• Microfiber cloths (at least a dozen, they get dirty fast)
• Scrub brushes with stiff and soft bristles
• Extendable duster for ceiling fans and crown molding
• Vacuum with hose attachments
• Mop and bucket (spin mops speed up floor work)
• Step ladder (6-foot fiberglass models are stable and lightweight)
• Trash bags (contractor-grade 3-mil bags handle broken items and sharp edges)
Safety gear:
• Nitrile gloves – protect hands from degreasers and disinfectants
• Safety goggles – required when working overhead or with spray cleaners
• N95 mask – essential for attic or garage work where dust and insulation particles are present
Professionals often keep supplies in a cleaning caddy with handles to move efficiently between rooms without backtracking. Pre-staging tools saves time and reduces frustration.
Kitchen Spring Cleaning Checklist
Kitchens accumulate grease, food particles, and grime in places that don’t get attention during routine wipes. Spring cleaning means pulling appliances away from walls and addressing buildup.
Appliances:
- Refrigerator – Unplug, remove shelves and bins, wash with warm soapy water. Vacuum condenser coils (typically behind or below the unit) to improve efficiency. Wipe door seals with diluted vinegar to prevent mold.
- Oven and range – Run the self-clean cycle if equipped, or use a heavy-duty degreaser on interior surfaces. Remove burner grates and drip pans: soak in hot water with degreaser. Don’t forget the oven vent hood, grease filters should be soaked or run through the dishwasher.
- Dishwasher – Remove and rinse the filter (usually at the bottom). Run an empty cycle with a cup of white vinegar to clear mineral deposits and odors.
- Microwave – Heat a bowl of water with lemon slices for three minutes to loosen splatters, then wipe interior and door seals.
Cabinets and surfaces:
• Wipe cabinet fronts, edges, and handles with degreaser. Wood cabinets may need furniture polish afterward.
• Empty cabinets one section at a time. Wipe shelves, check expiration dates, and discard stale items.
• Clean countertops, including the backsplash and areas behind small appliances.
• Scrub grout lines on tile backsplashes with a baking soda paste and an old toothbrush.
Floors and baseboards:
• Sweep or vacuum thoroughly, including under appliances if they can be moved safely (refrigerators and stoves slide on sliders or cardboard).
• Mop with appropriate cleaner for the floor type, tile tolerates stronger solutions, while hardwood needs pH-neutral products to avoid damage.
• Wipe baseboards and the toe kick below cabinets.
Kitchen work generates the most grime and typically takes the longest. Allocate at least half a day for a thorough job.
Bathroom Deep Cleaning Tasks
Bathrooms require disinfectants and attention to moisture-prone areas where mold and mildew thrive. Work top to bottom to avoid re-contaminating cleaned surfaces.
Surfaces and fixtures:
- Spray shower walls, tub, and fixtures with a mildew remover or diluted bleach solution (1 part bleach to 10 parts water). Let sit for 10 minutes, then scrub and rinse.
- Remove and wash shower curtains and liners (machine wash on gentle: add a towel to scrub action).
- Scrub grout with a stiff brush and baking soda paste. Severe staining may need a grout pen or professional re-sealing.
- Clean faucets and showerheads, soak removable heads in vinegar overnight to dissolve mineral buildup.
- Wipe mirrors, light fixtures, and exhaust fan covers. Safety note: Turn off power at the breaker before removing fan covers to clean blades.
Toilet and sink:
• Use a disinfectant inside the toilet bowl and under the rim. Scrub with a toilet brush and flush. Wipe the exterior, including the base and behind the tank.
• Clean sink basins, faucets, and drain stoppers. Hair and soap scum clog stoppers quickly, remove and rinse weekly during spring cleaning season.
Cabinets and floors:
• Empty cabinets and drawers. Discard expired medications, old cosmetics, and empty bottles. Wipe shelves with disinfectant.
• Sweep and mop floors, paying attention to corners and the space around the toilet base.
• Wash bathmats and any fabric items.
Bathroom air quality improves dramatically after addressing mold and mildew. If persistent moisture issues exist, consider upgrading the exhaust fan to a higher CFM (cubic feet per minute) rating.
Living Areas and Bedroom Refresh
Living rooms, bedrooms, and common areas collect dust, pet hair, and allergens that settle on soft furnishings and hidden surfaces. Spring cleaning here focuses on textiles, upholstery, and overlooked spots.
Dusting and surfaces:
• Dust ceiling fans, light fixtures, and crown molding with an extendable duster. Work from top to bottom so debris falls to the floor.
• Wipe baseboards, window sills, and blinds. Vinyl or faux-wood blinds can be wiped with a damp cloth: fabric blinds may need vacuuming with a brush attachment.
• Clean air vents and return grilles. Remove covers, wash with soapy water, and vacuum ductwork openings if accessible.
Upholstery and textiles:
• Vacuum sofas, chairs, and mattresses using the upholstery attachment. Lift cushions to remove crumbs and debris.
• Wash or dry-clean curtains, throw pillows, and slipcovers. Check care labels first, some fabrics shrink or fade.
• Rotate and flip mattresses if applicable (not all modern mattresses allow flipping). Vacuum the mattress surface to remove dust mites.
Floors and carpets:
• Vacuum carpets and area rugs thoroughly, moving furniture to reach underneath. High-traffic areas benefit from a second pass.
• For deeper carpet restoration, rent a steam cleaner or hire a professional service, DIY machines work, but commercial equipment extracts more water and speeds drying.
• Mop hard floors, including under beds and behind furniture that rarely moves.
Windows and walls:
• Wash windows inside and out with glass cleaner. Squeegees leave fewer streaks than paper towels.
• Spot-clean walls with a damp cloth and mild detergent, especially around light switches and doorways where hands leave marks.
Living areas feel fresher when textiles are cleaned and dust is eliminated. Homeowners with allergies notice immediate relief after addressing soft surfaces.
How to Use Your Printable Spring Cleaning Checklist
A checklist only works if it’s used properly. Print the PDF and keep it somewhere visible, taped to the fridge or clipped to a clipboard that stays in the cleaning caddy.
Break work into manageable blocks:
• Tackle one room per day or dedicate a weekend to high-priority spaces like the kitchen and bathrooms.
• Set a timer for focused work sessions, 90 minutes of concentrated effort beats six hours of distracted puttering.
• Check off tasks as they’re completed. The visual progress motivates homeowners to keep going.
Adapt the checklist to the home:
• Not every home has the same layout or needs. Cross out irrelevant tasks (no dishwasher? Skip that line) and add site-specific items like patio furniture or garage organization.
• Note which tasks require a second person, moving heavy appliances or cleaning high ceilings safely often needs help.
Track maintenance intervals:
• Use the checklist to establish a baseline. Some tasks (like condenser coil cleaning or grout scrubbing) only need annual attention. Others, like washing curtains, might shift to a semi-annual schedule.
• Pencil in dates next to completed tasks to remember when they were last done.
Homeowners researching comprehensive seasonal approaches often adapt professional checklists to fit their space and schedule. The key is consistency, not perfection.
Conclusion
Spring cleaning with a structured checklist transforms an overwhelming chore into a series of manageable tasks that actually get finished. Homeowners who print a PDF, gather supplies upfront, and work room by room end up with cleaner homes and fewer forgotten corners. The difference between surface-level tidying and deep cleaning shows in air quality, appliance efficiency, and how long finishes and fixtures last. A little planning and a printed list make all the difference.